Scanning with Control Points
Adding Control Points
Using control points while scanning is not a requirement, but using control points can:
- register the scans to a specific coordinate system
- automatically register the scans with other scans
- verify the results for accuracy
- optimize accuracy at very long corridors where loop closures are not possible
To add a control point while scanning:
- Select the control point button
 from the right menu on the user interface.
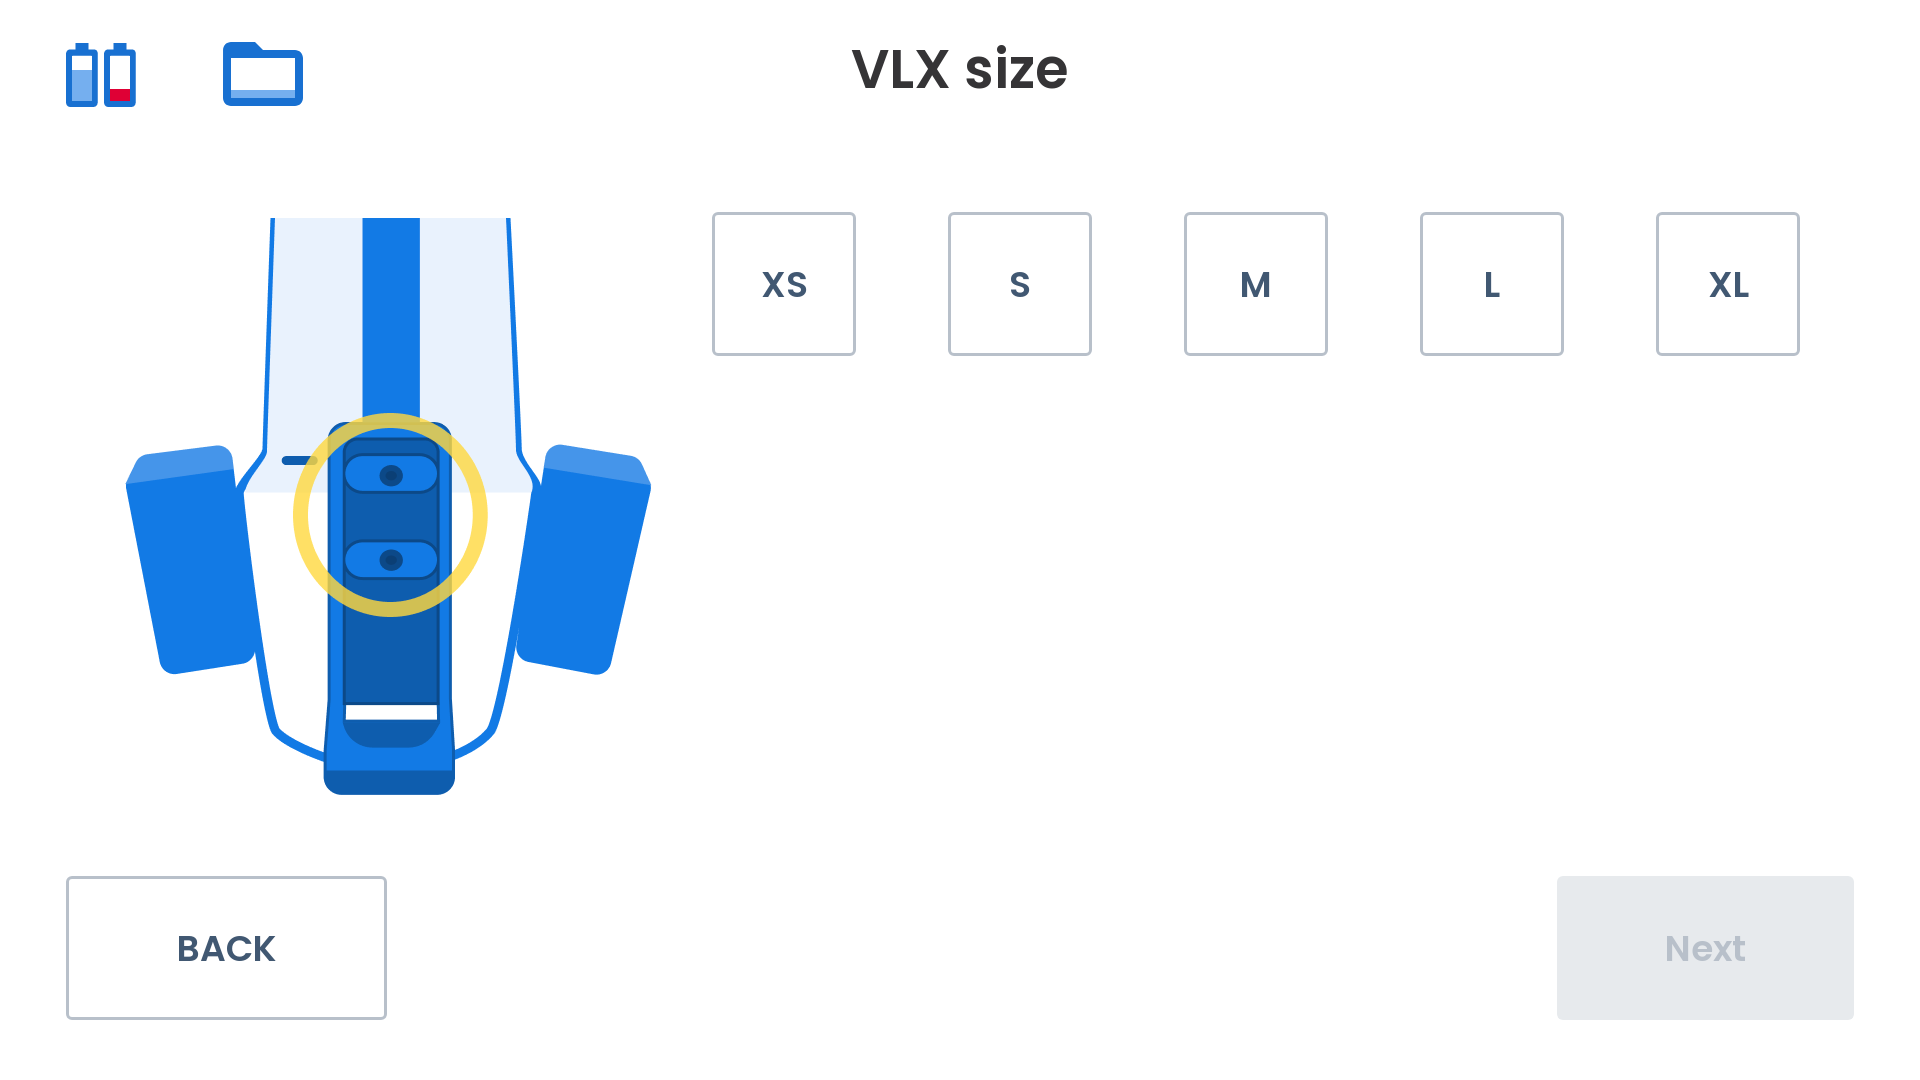
 From the NavVis VLX size screen, select the size of your belt settings. Select Next.
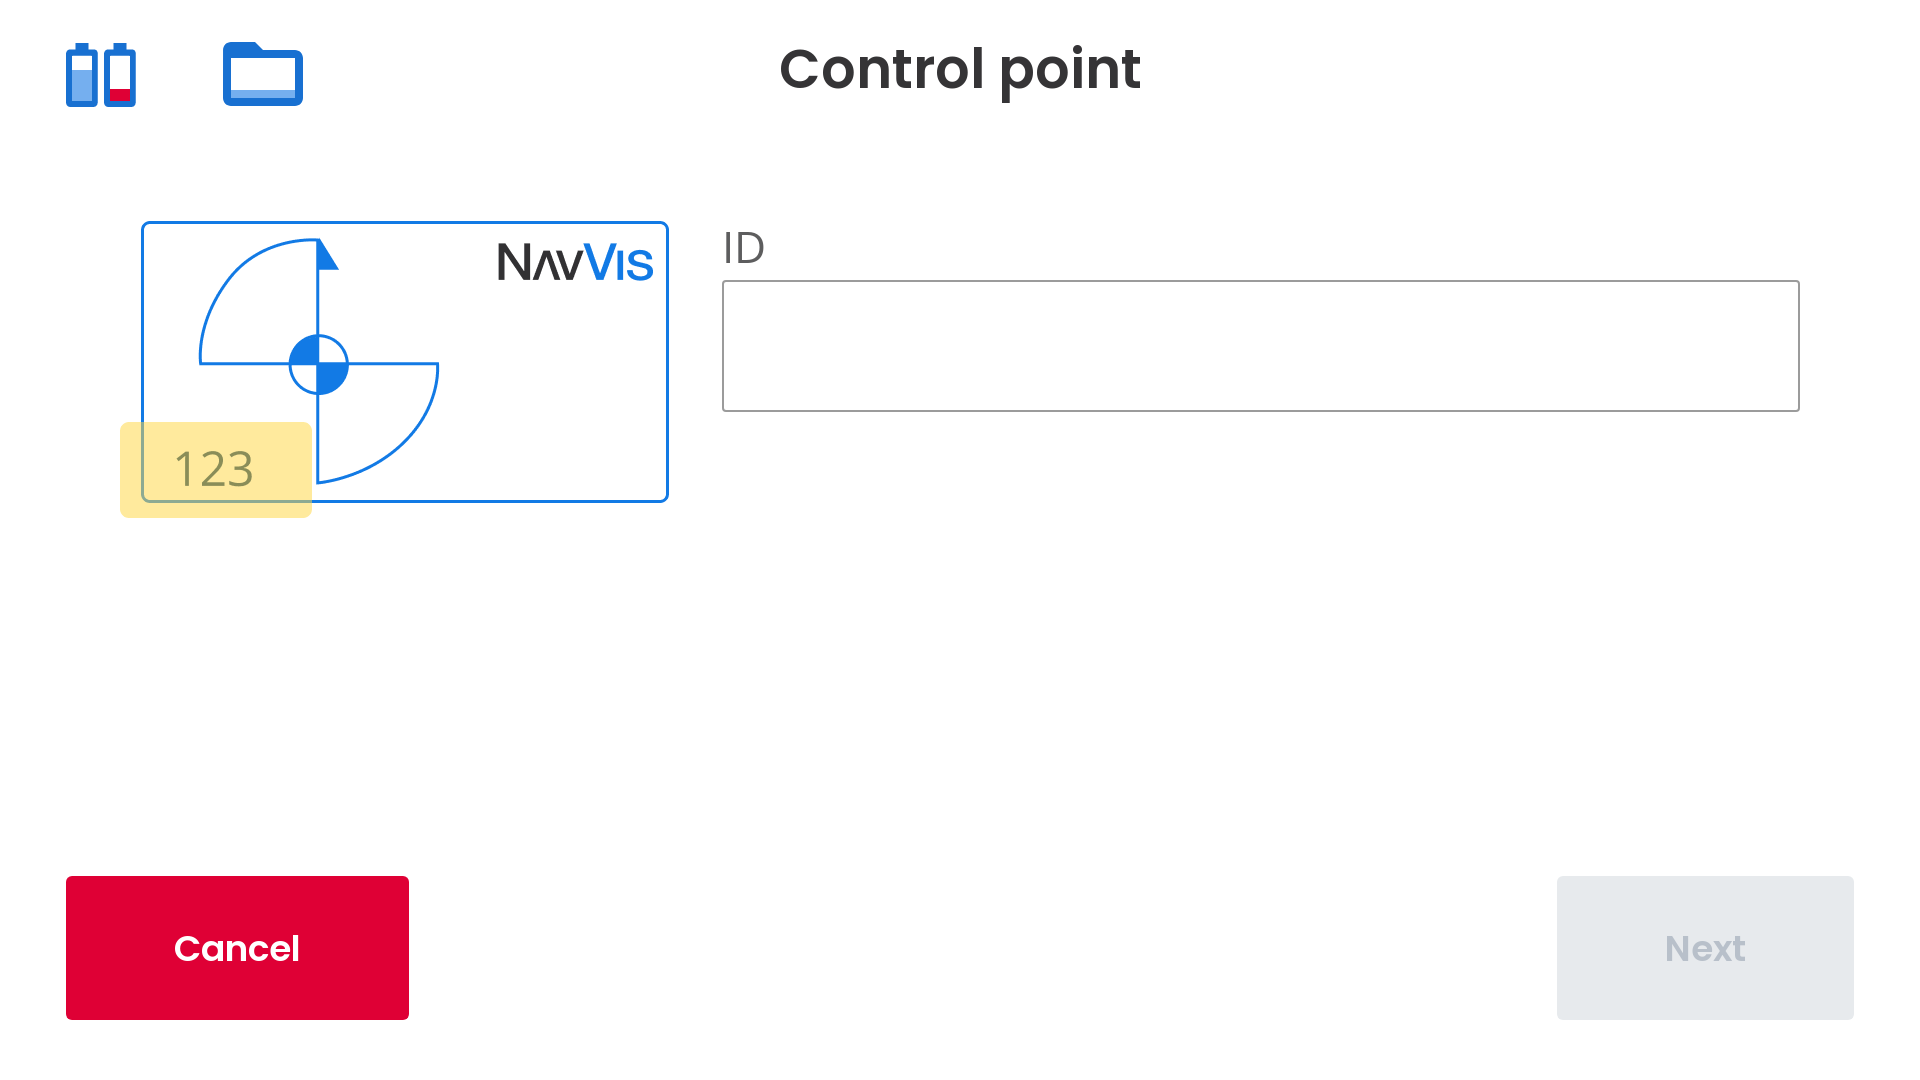
- From the Control Point screen, enter a unique control point ID in the field. Select Next.Note: The ID entered must match the ID on the control point marker.
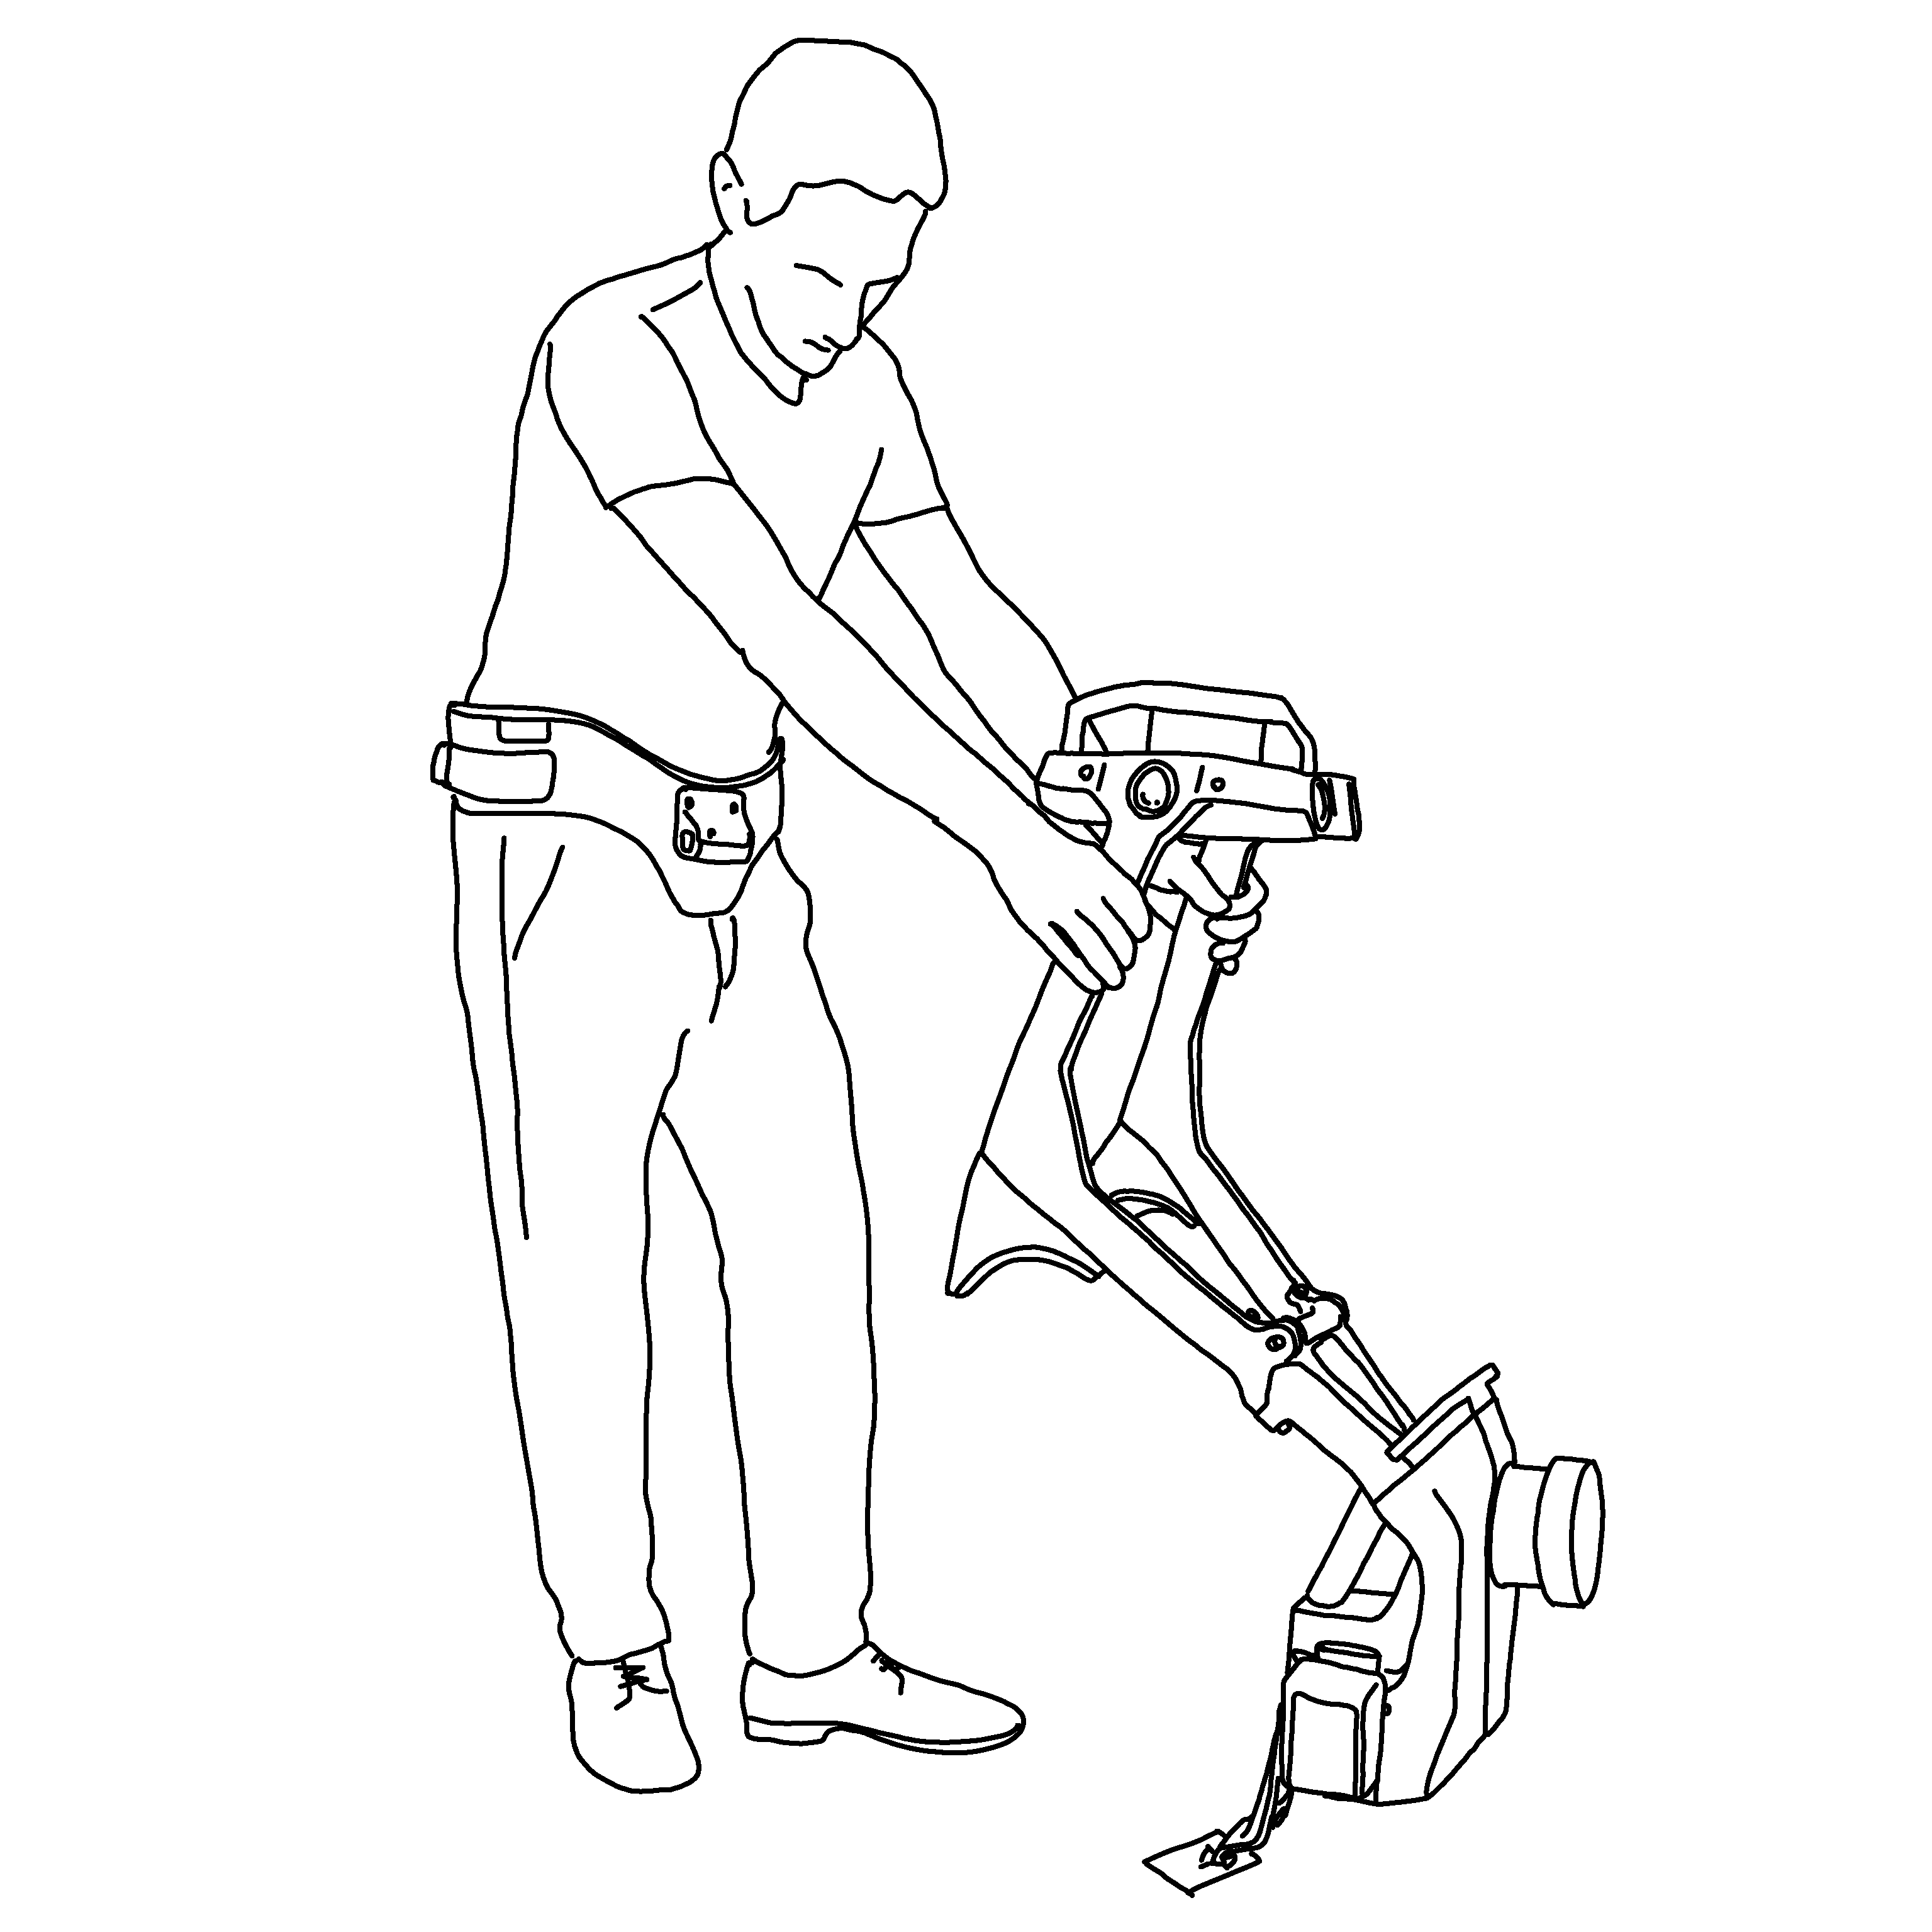
Remove the NavVis VLX from the belt hook while holding the frame and handle. Make sure the area above your head is clear. Avoid fast or jerky movements while moving the device.
Use the following instructions for handling the device when adding control points.
Adding Ground Control Points
- Hold the NavVis VLX by the frame. Position the belt hook at the center of the marker.
Press the Control Point button on top of the VLX to add the location.
The user interface indicates the control point is added.
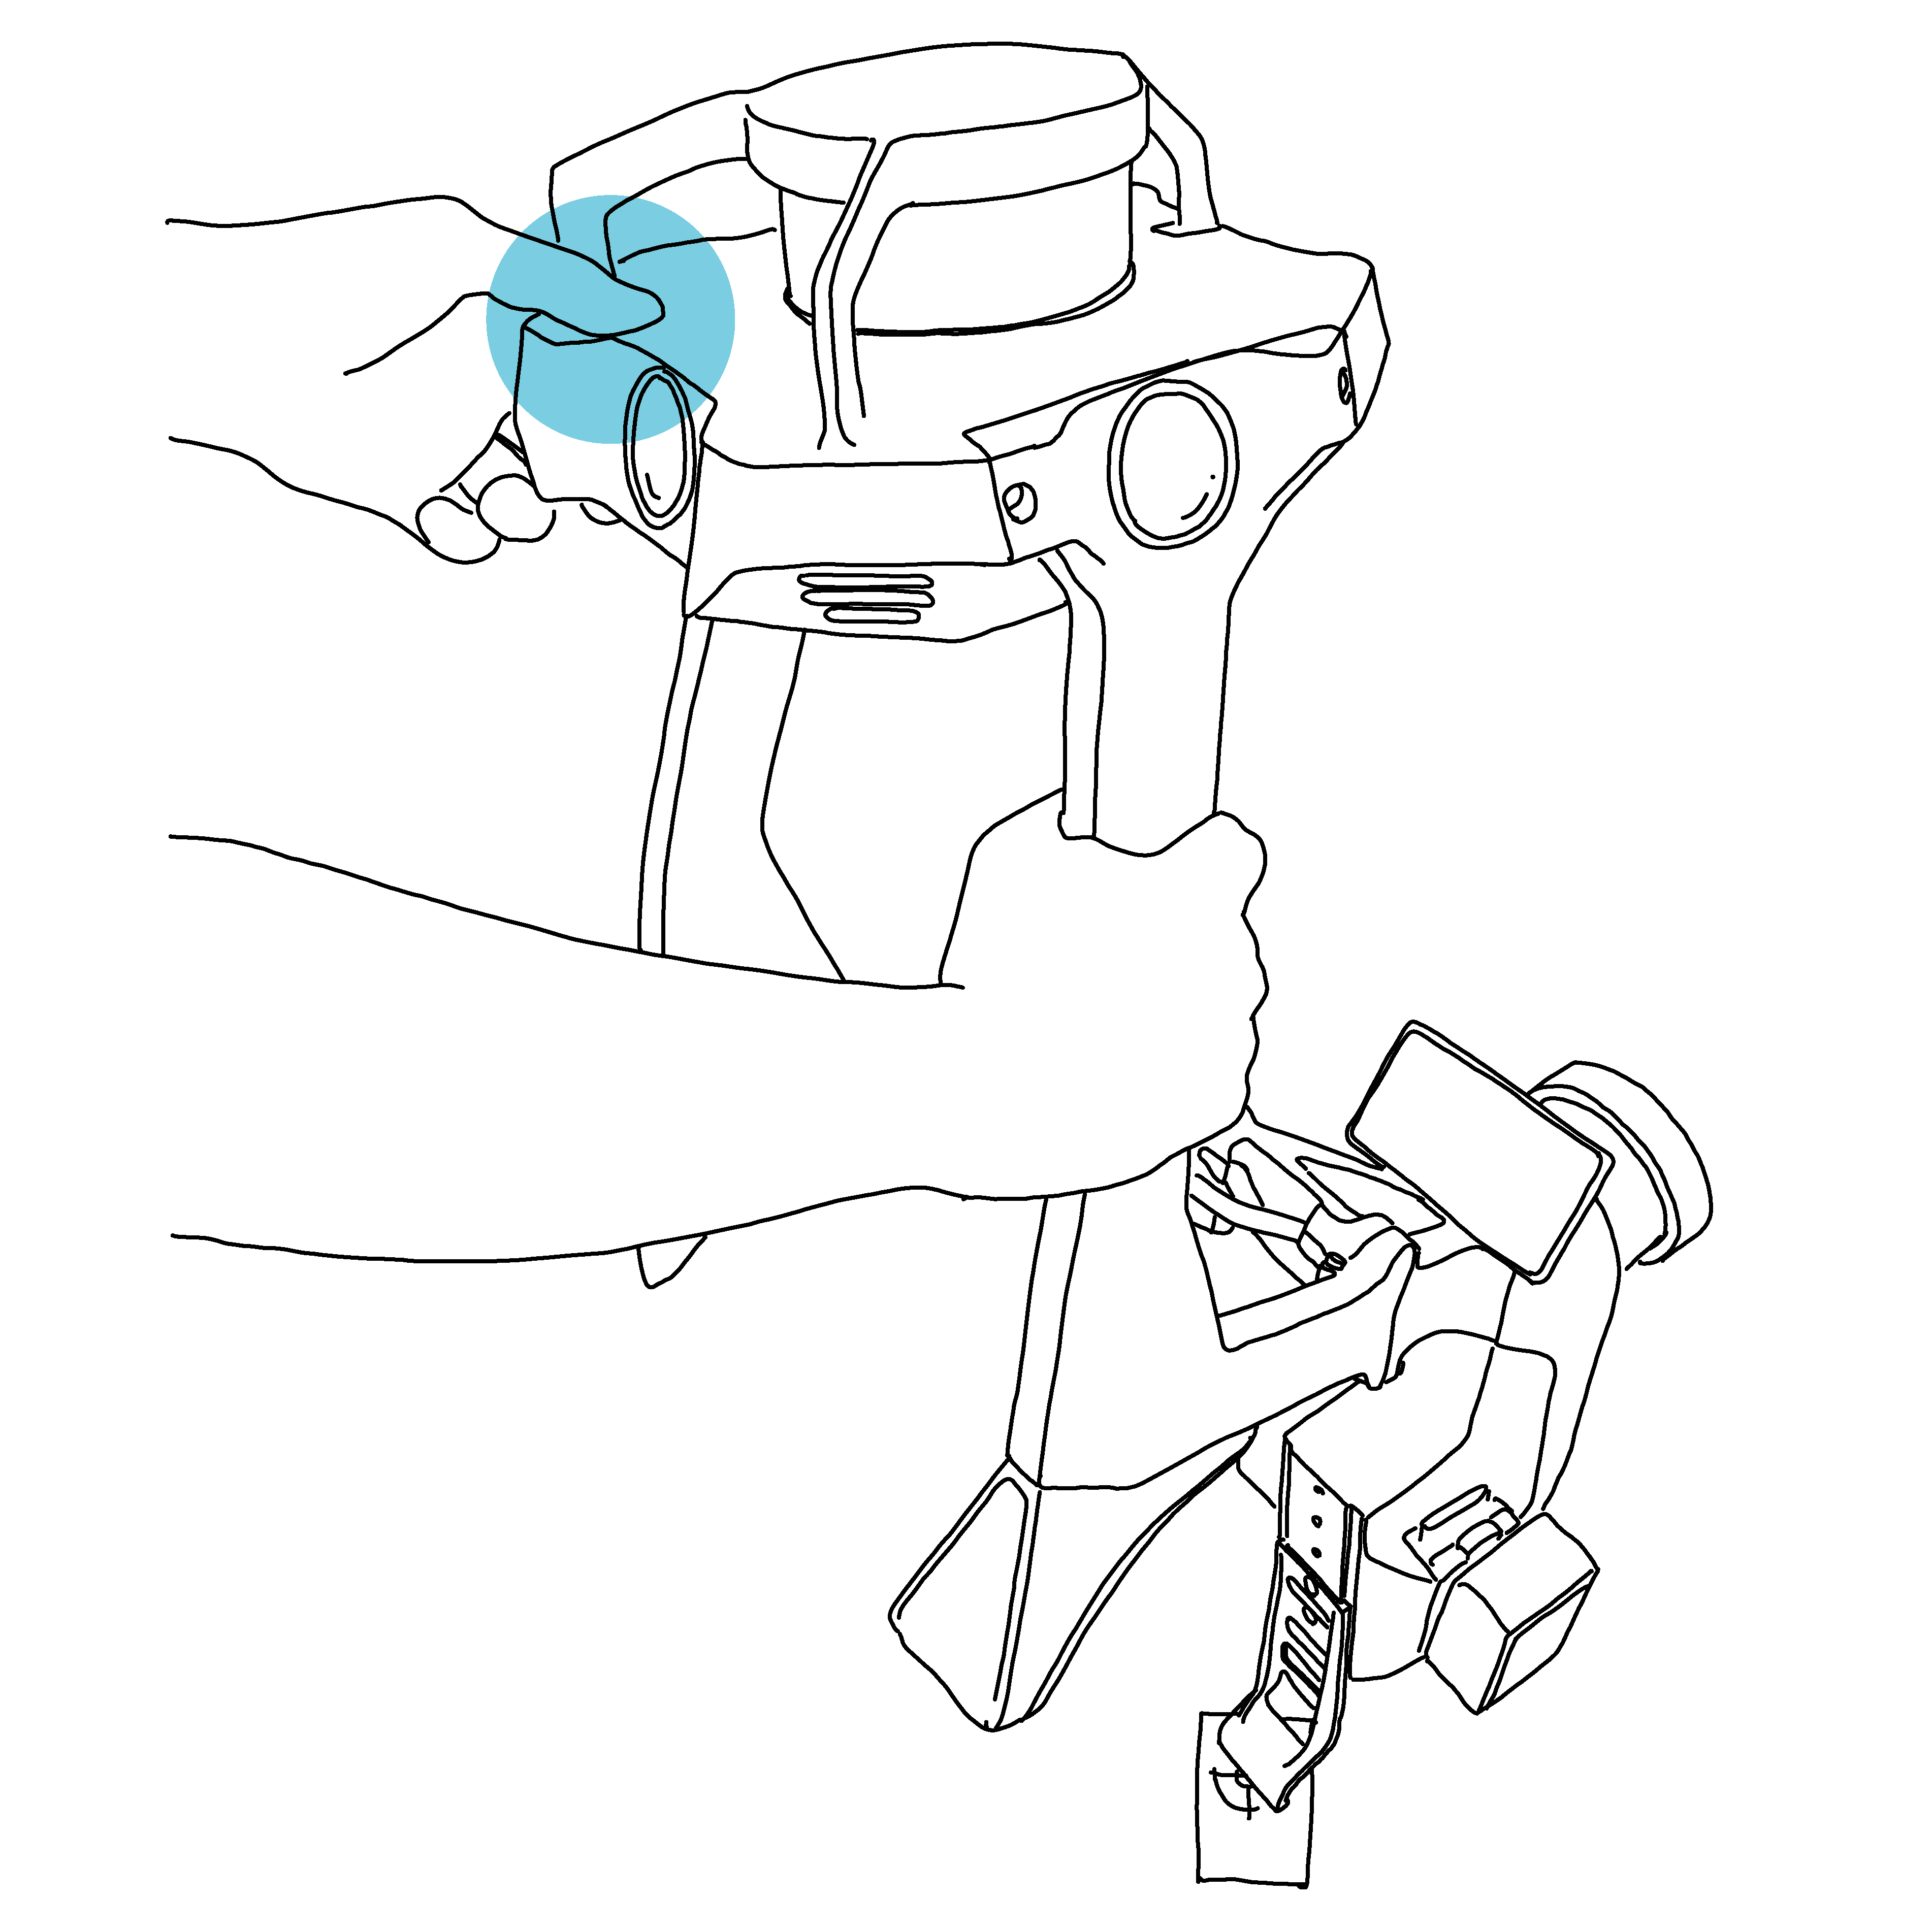
Adding Wall Control Points at Head Height or Above
Tilt the NavVis VLX and let it rest on your shoulders. Hold the handle with one hand. Use the other hand to position the belt hook at the center of the marker.

Press the trigger button above the handle to add the location.
The user interface indicates the control point is added.
Adding Wall Control Points at Hip Height
Hold the NavVis VLX frame with one hand and the handle with the other hand.
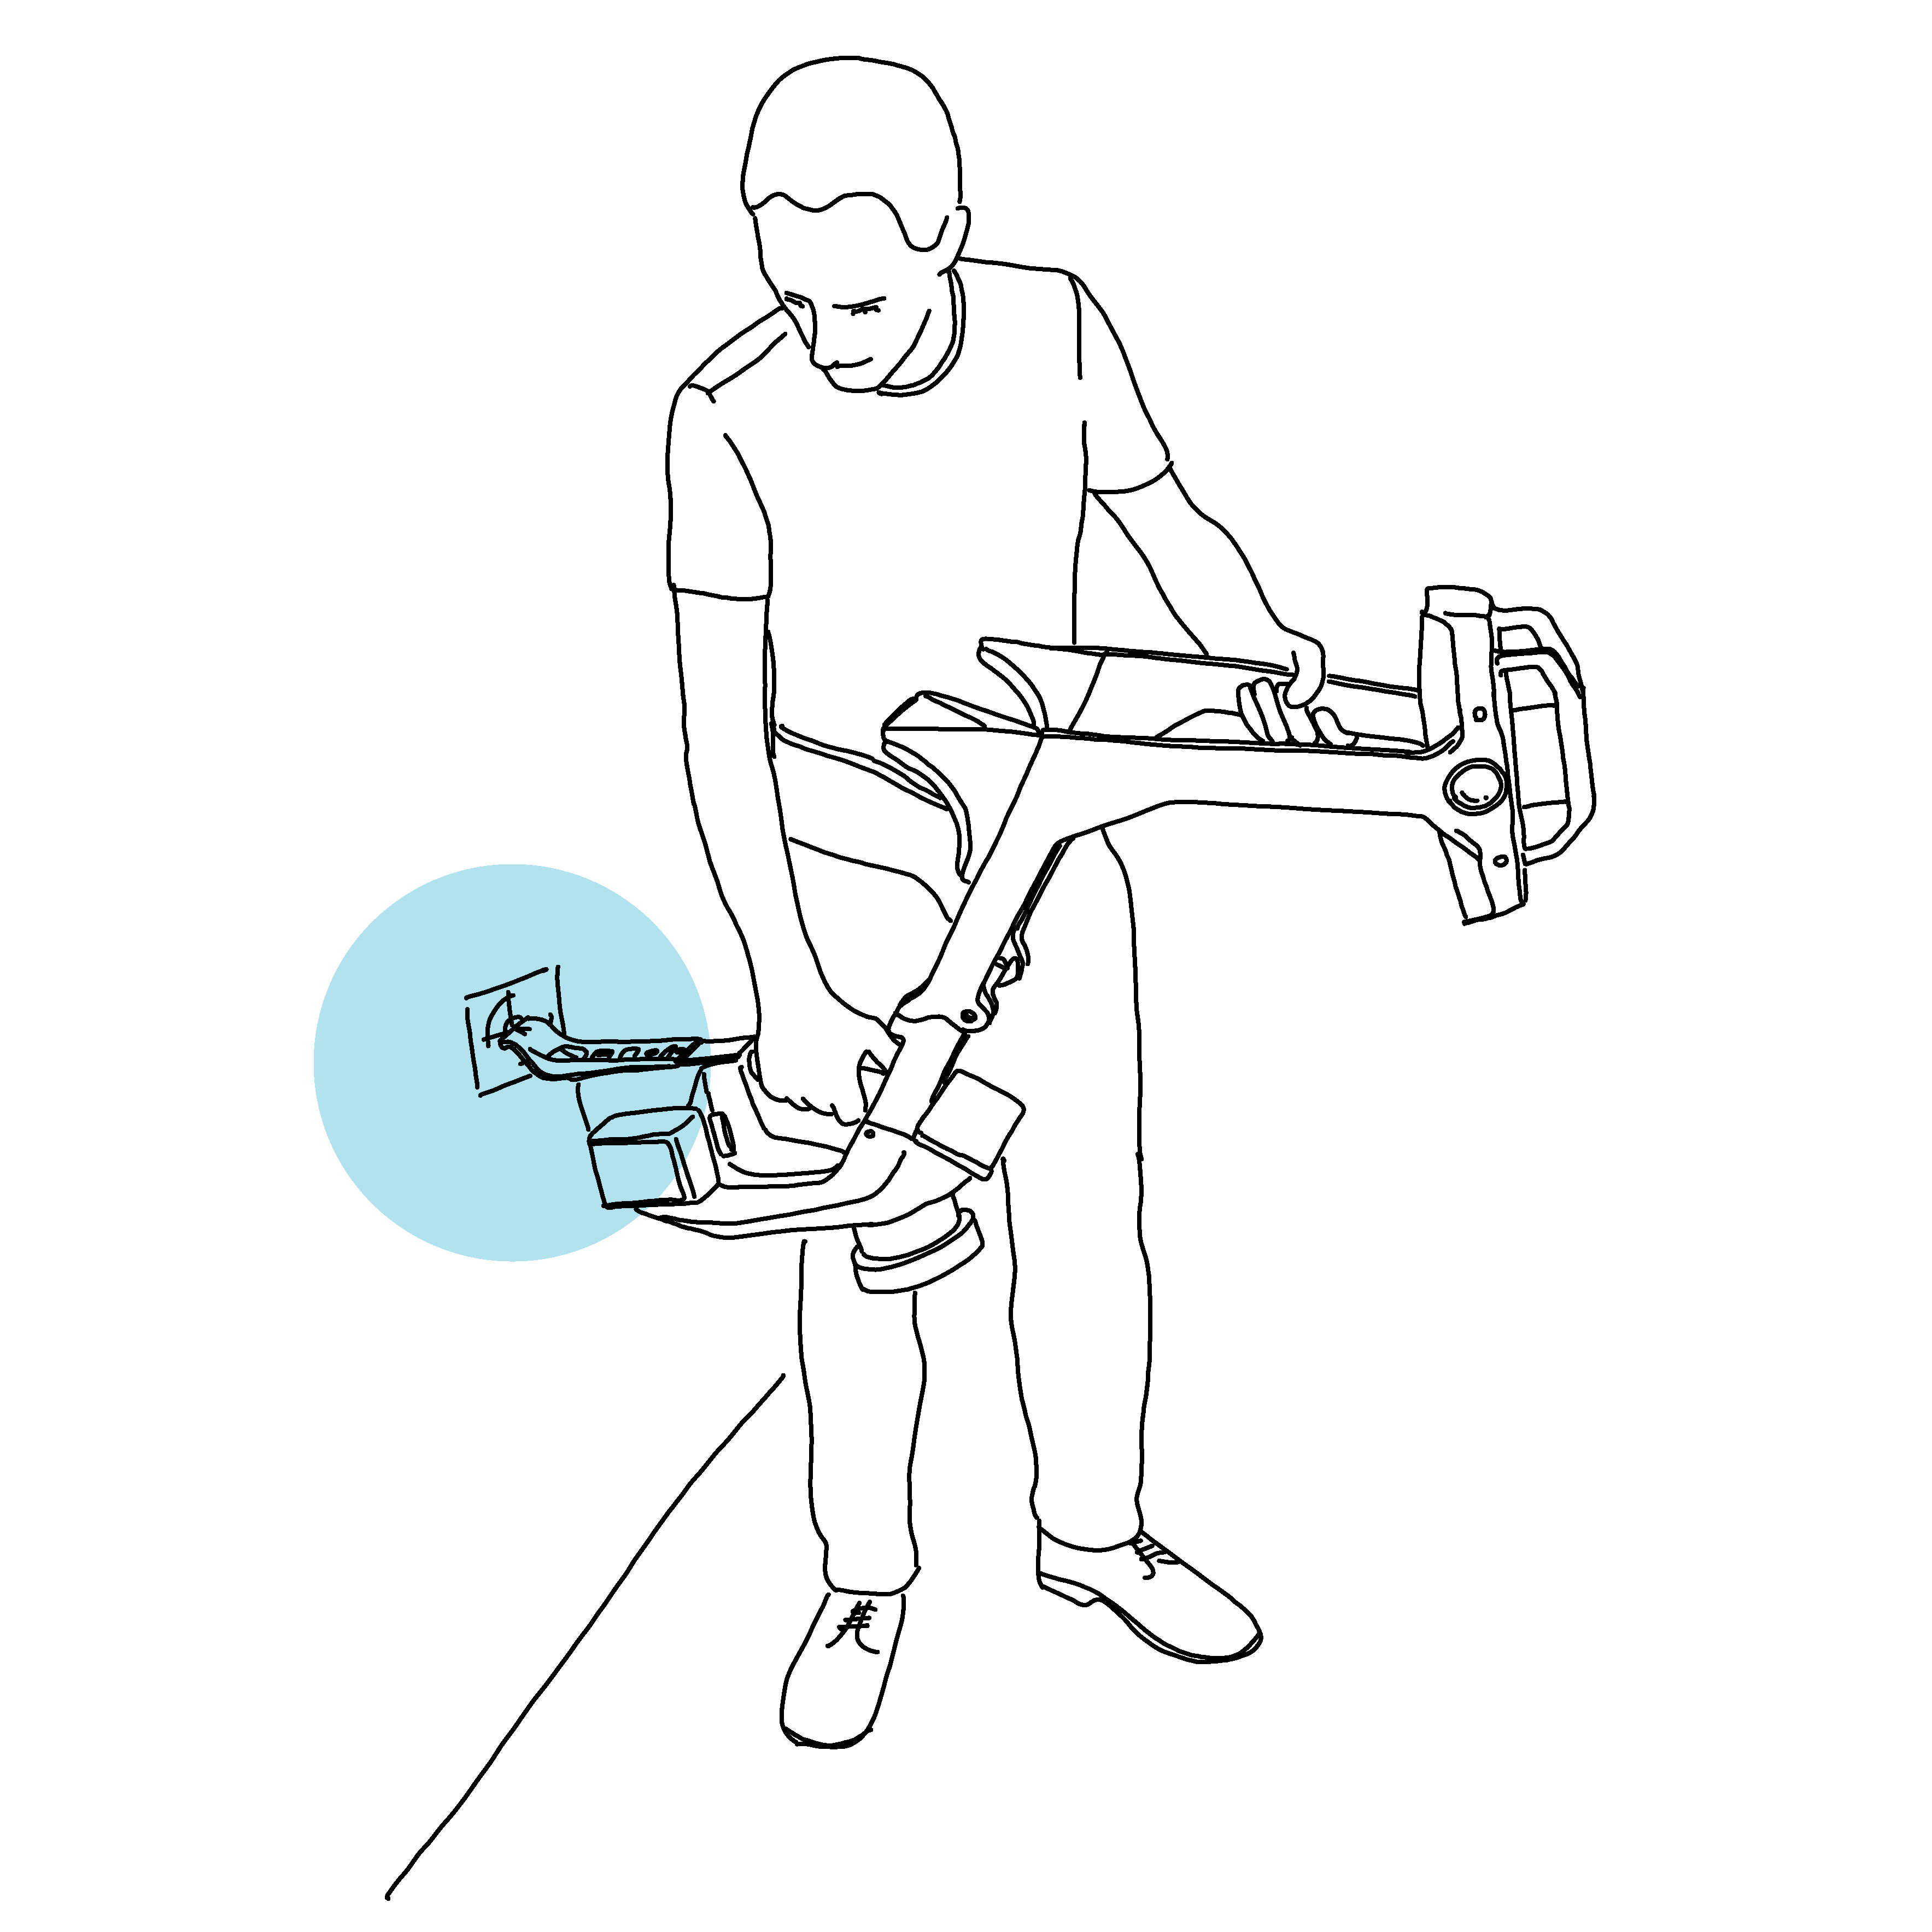
Align the mark on the belt hook with the center of the wall control point.
Press the trigger button above the handle to add the location.
The user interface indicates the control point is added. From the user interface, select Add to confirm or Cancel to undo and go back to the mapping screen.